27 Genius Craft Room Layout Ideas for an Organized Space
Creating the perfect craft room is an exciting journey – it’s all about crafting a space that fuels your creativity while being organized and functional.
Whether you’re an avid scrapbooker, a DIY enthusiast, or someone who loves working on all things Cricut, having a well-thought-out craft room layout can make a world of difference.
But let’s be honest, it’s easy for things to get out of hand in a space filled with all sorts of supplies. If you’re like me, you’ve probably tried a few craft room hacks that worked for a while… but over time, the clutter starts creeping back in!
So, how do you balance beautiful craft room decor ideas with the practical need to declutter your craft room? Well, you’re in the right place!
I’m sharing 27 inspiring craft room layout ideas, including some budget-friendly tips. Let’s dive in,
1. Choose a Large Work Surface
 Source: Fantastic Frank
If you’re like me, you know how easy it is to spread out on a craft project and suddenly have no room to work. A big desk solves that problem!
I love having a wide open space to work on multiple projects at once. It keeps everything within reach and helps me stay organized, like in the photo where all the tools are neatly placed for quick access.
If you can, go for a desk that’s large enough to hold your essentials and some extra storage.
2. Go for Tall Storage Units
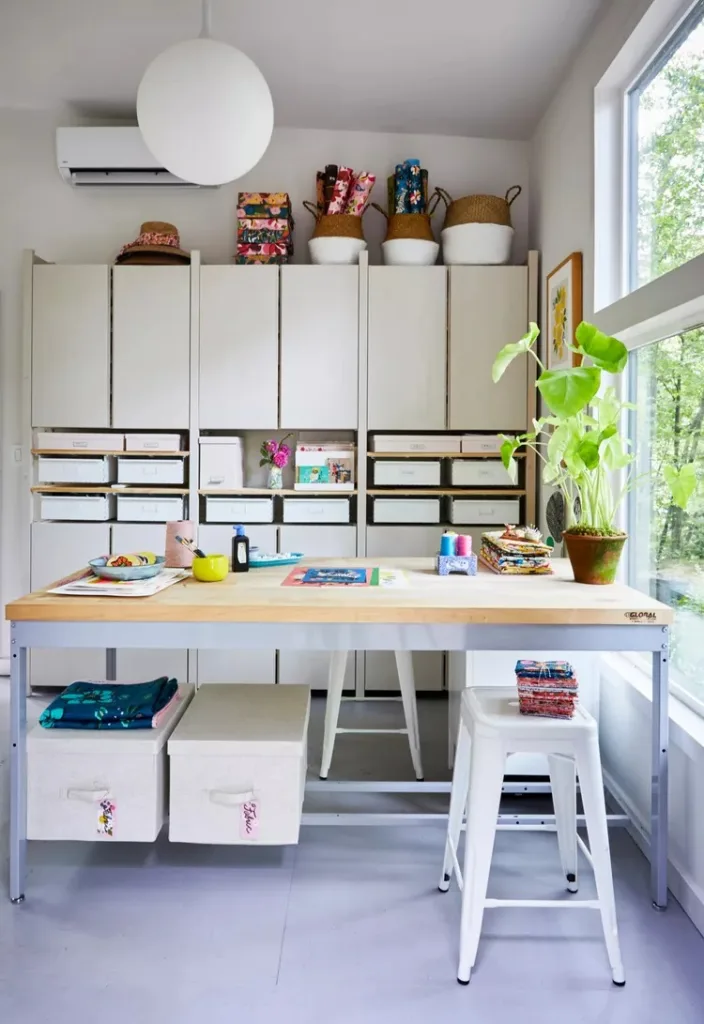 Source: Dana Gallagher
When I moved into my craft room, I was desperately in need of storage. Floor-to-ceiling cabinets were a total lifesaver!
They give you loads of space for everything without taking up too much floor area. You can tuck away fabric, tools, and even extra supplies, just like the tall storage units in the image.
I like to organize by type, so everything’s easy to find when I need it.
3. Hang a Pin Board
 Source: Crafted Life
You’ve probably noticed that inspiration comes from all sorts of places. I love having a pin board in my craft room to keep my ideas visible.
I pin up sketches, favorite color palettes, or inspiring quotes. It’s so nice to look up and see things that get my creative juices flowing.
If you haven’t added one yet, trust me – it’s a small change that makes a big impact on your motivation!
4. Use Rolling Storage for Flexibility
 Source: Happiness Is Homemade
One of the best things I’ve added to my craft room is rolling carts. Whether I’m in the mood to work at my desk or move around, rolling storage makes it so easy.
The best part? I can wheel everything into another room or change my layout whenever I feel like it!
You can see in the image how practical it is to have things on wheels. Plus, it’s a space-saver and keeps your supplies organized without restricting your movements.
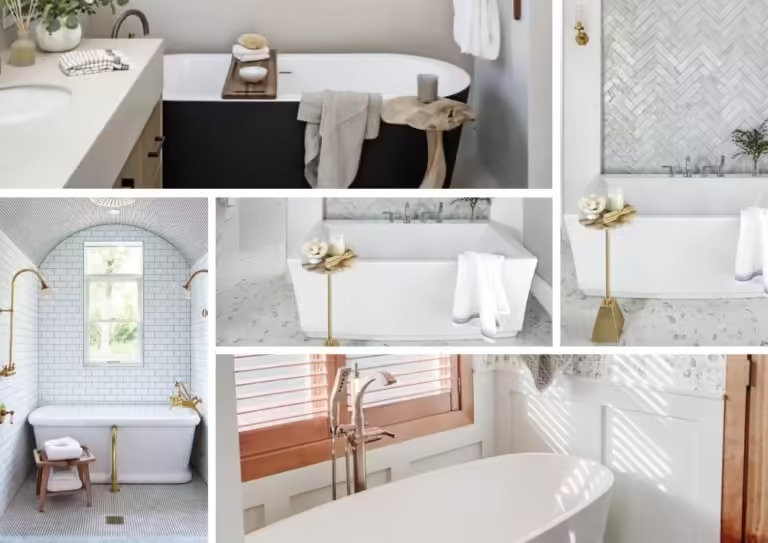
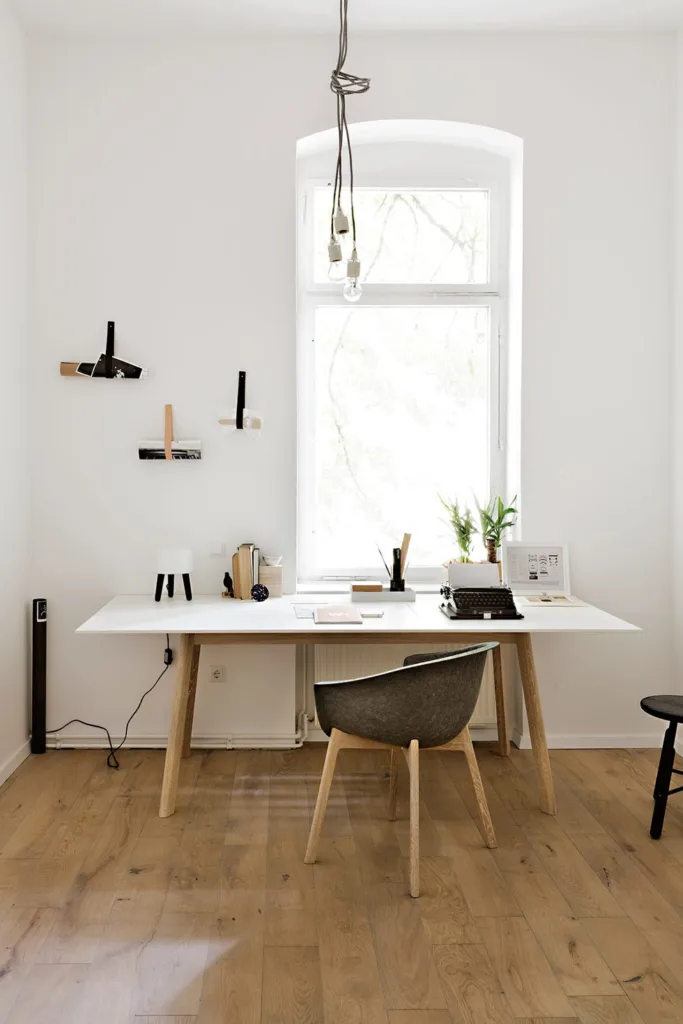
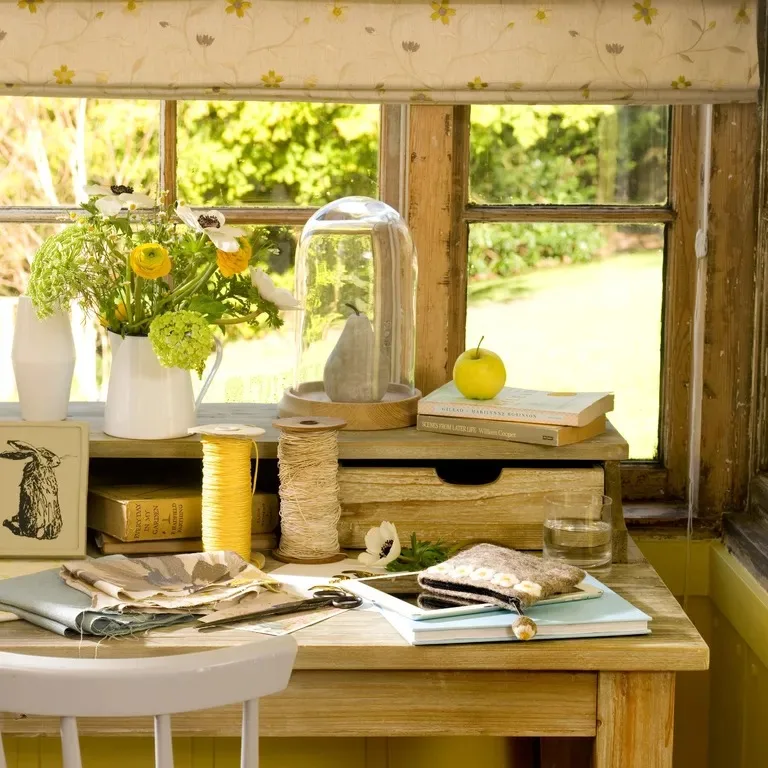
5. Make the Most of Natural Light
 Source: Simon Whitmore
There’s something about a well-lit space that just makes crafting more enjoyable. I love having natural light streaming through my window while I work – it makes everything feel brighter and more energizing.
In fact, I always try to position my desk by a window, just like in the picture.
Trust me, if you haven’t experienced the magic of natural light while crafting, you should definitely give it a try!
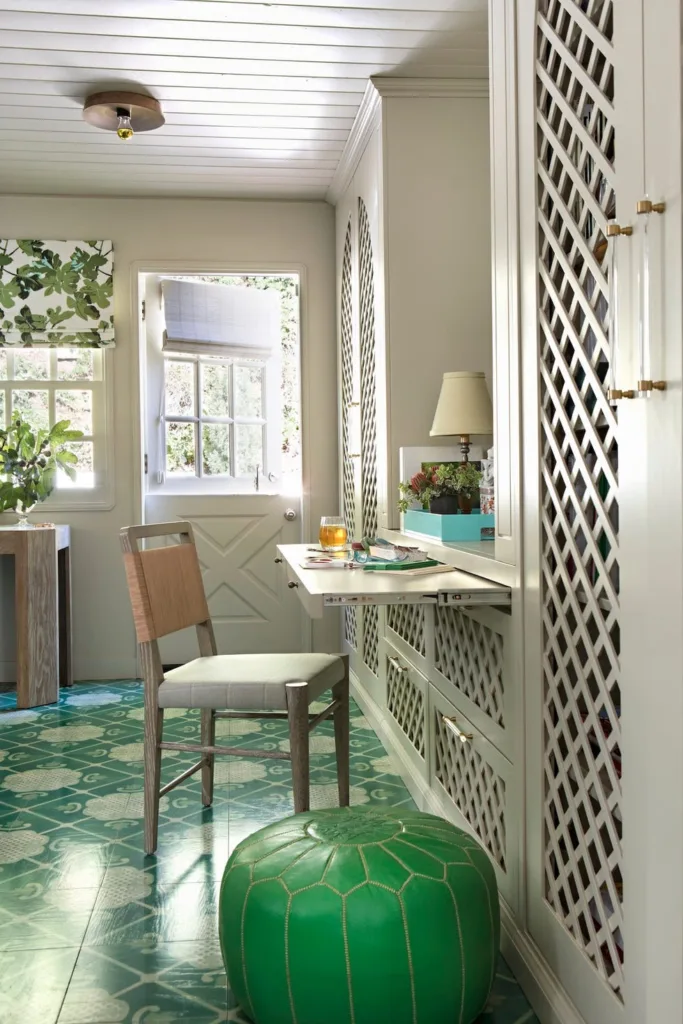
6. Use Drop-down Desk
 Source: Marty Baldwin
Living in a smaller space doesn’t mean you have to sacrifice your craft time! A fold-down desk is a game changer for me.
When I’m not using it, I just fold it up and keep things neat and tidy. The desk in the image is the perfect example of how space-saving furniture can help you stay organized.
It gives you more room to move around when you need it, and it’s there when you’re ready to dive into a new project.
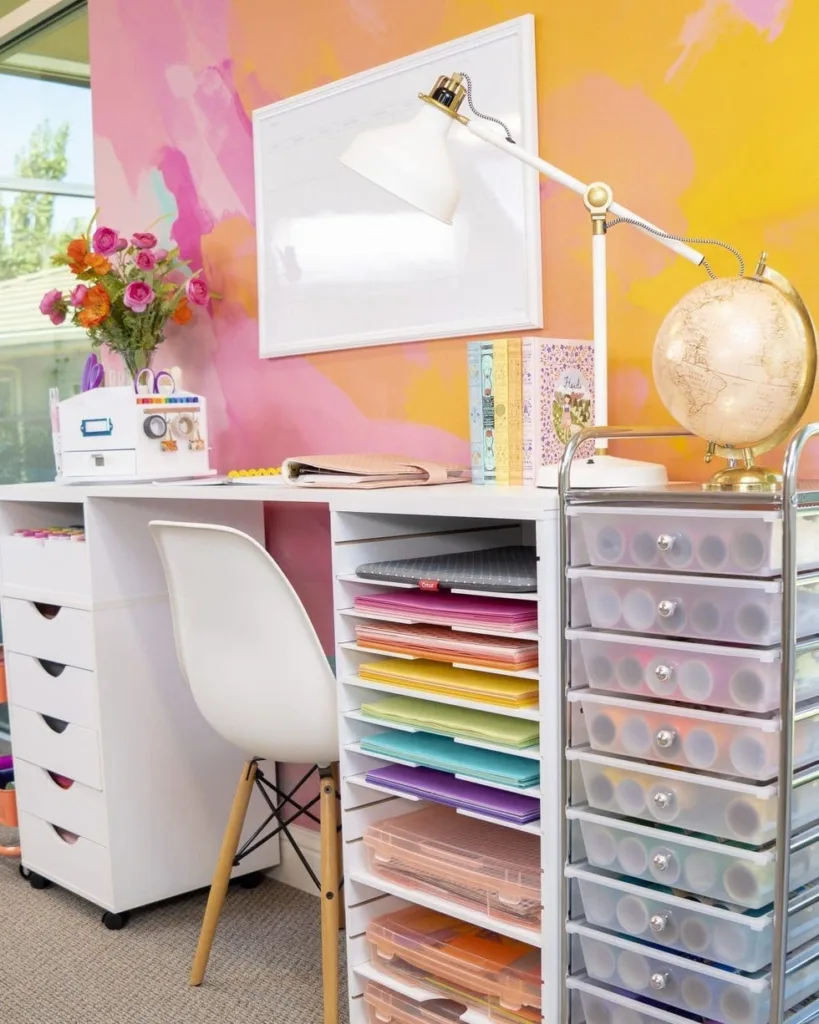
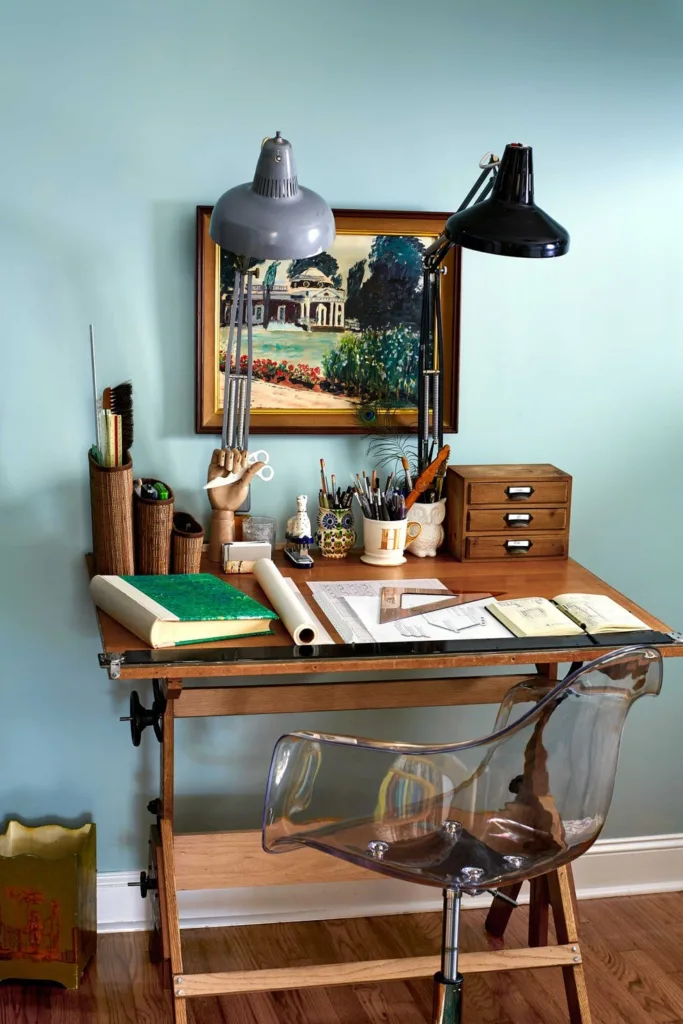
7. Prioritize Task Lighting
 Source: Trevor Tondro
Good lighting is everything! I learned this the hard way – working in low light is tough on the eyes, especially when I’m doing detailed work like scrapbooking or sewing.
That’s why I swear by task lighting. A desk lamp with focused light, like in the picture, helps me see every little detail clearly.
If you haven’t already, consider adding a lamp that focuses on your workspace. It’ll make crafting way more enjoyable.
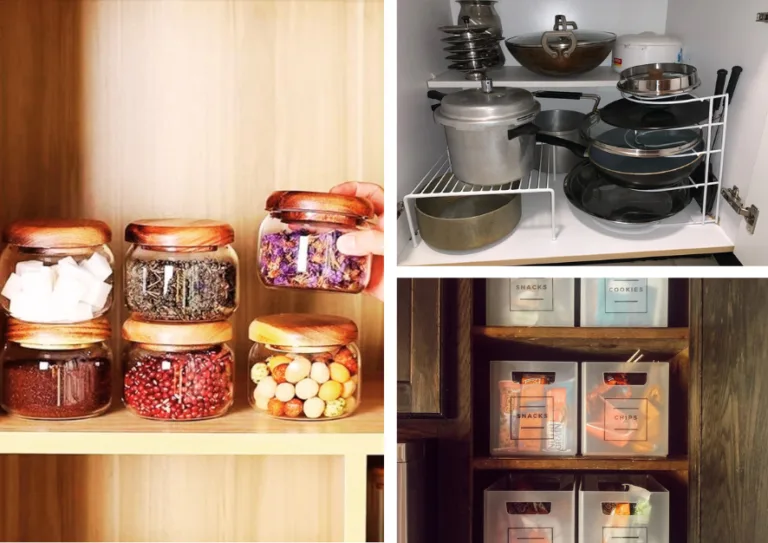
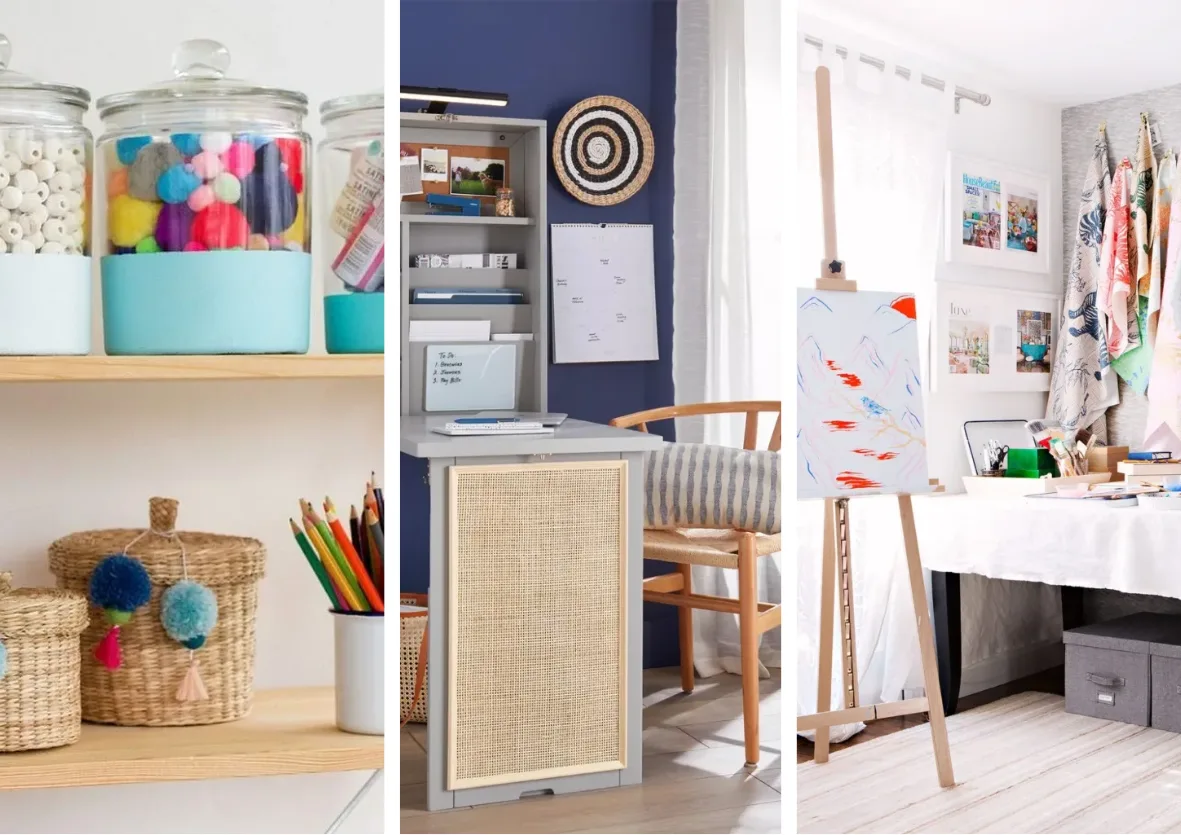
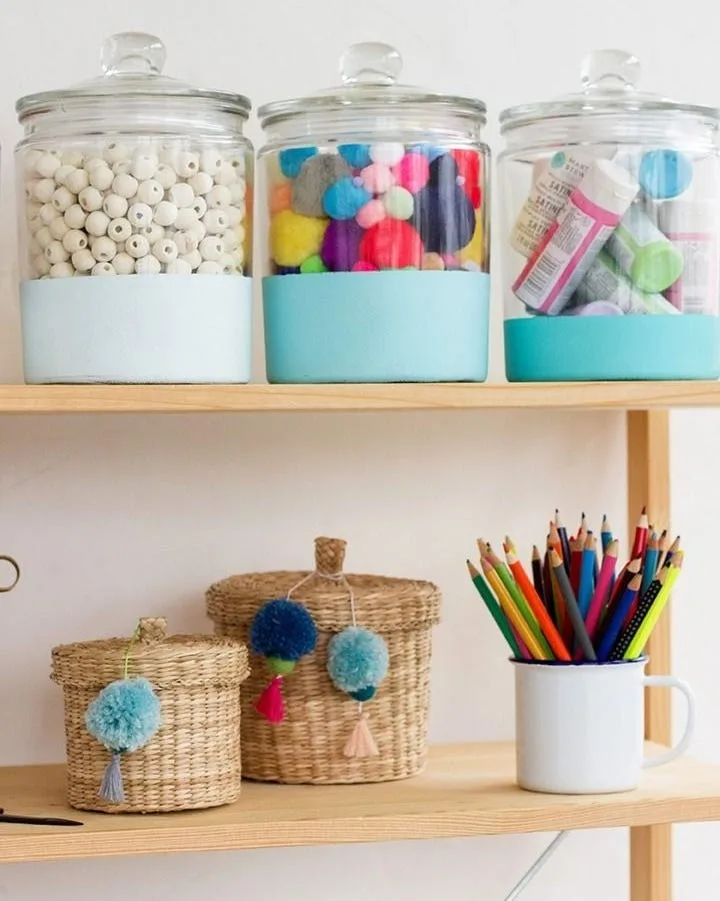
8. Find a Place for the Small Stuff
 Source: Alice & Lois
Let’s face it – small supplies like buttons, beads, and thread always seem to get lost in the shuffle. I’ve found that clear containers are a life-saver!
I love how easy it is to find exactly what I need when everything is organized and labeled, just like in the photo.
If you’re like me and have tons of little supplies, this simple storage solution will keep everything in its place and reduce the clutter.
9. Create a Neat Storage Solution for Rolls
 Source: Scattered Thoughts of a Crafty Mom
Rolls of paper, fabric, and tape are always a challenge to store. I used to stack them, but they would just get in the way!
Then I found the perfect solution: hanging them on a rod or dowel. This method saves so much space and keeps things organized.
You can see in the image how practical it is to keep rolls of supplies neatly hung. It’s so much easier to grab what you need when everything is in its place.
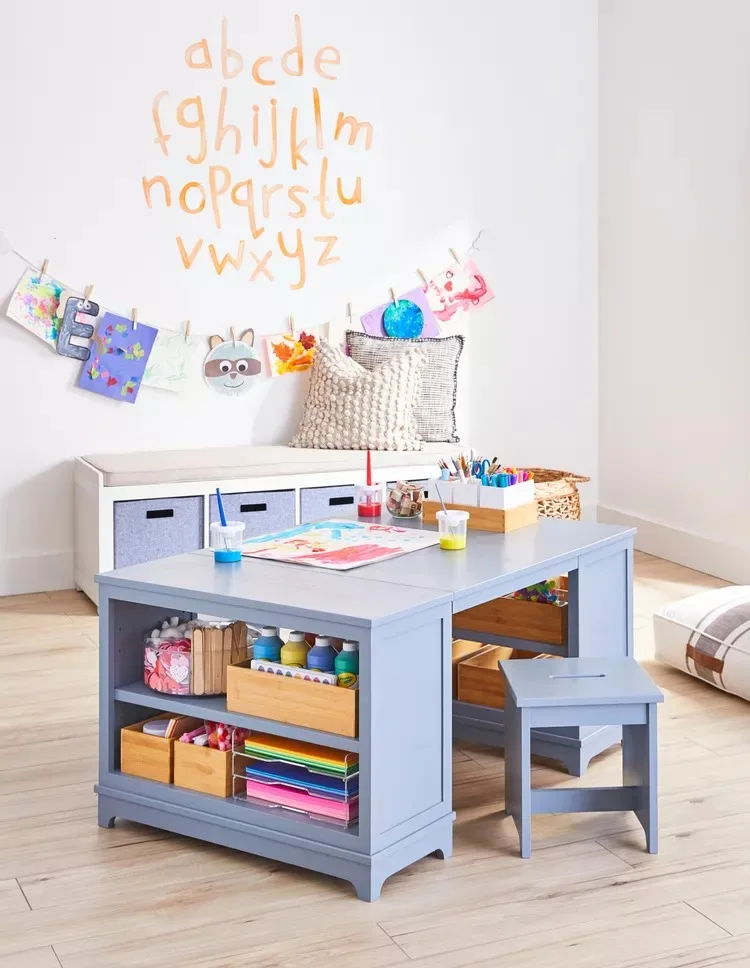
10. Set Up a Creative Zone for Kids
 Source: Carson Downing
If you have little ones, you’ll love this idea! I created a kid-friendly craft center, and it’s been a total hit.
By setting up a small table at their height, just like in the picture, I’ve made crafting more accessible for them.
They love having their own space to create and explore. Plus, it’s a great way to teach them how to organize their supplies and clean up afterward. It’s a win-win!
11. Temporary Storage Solutions for Flexibility
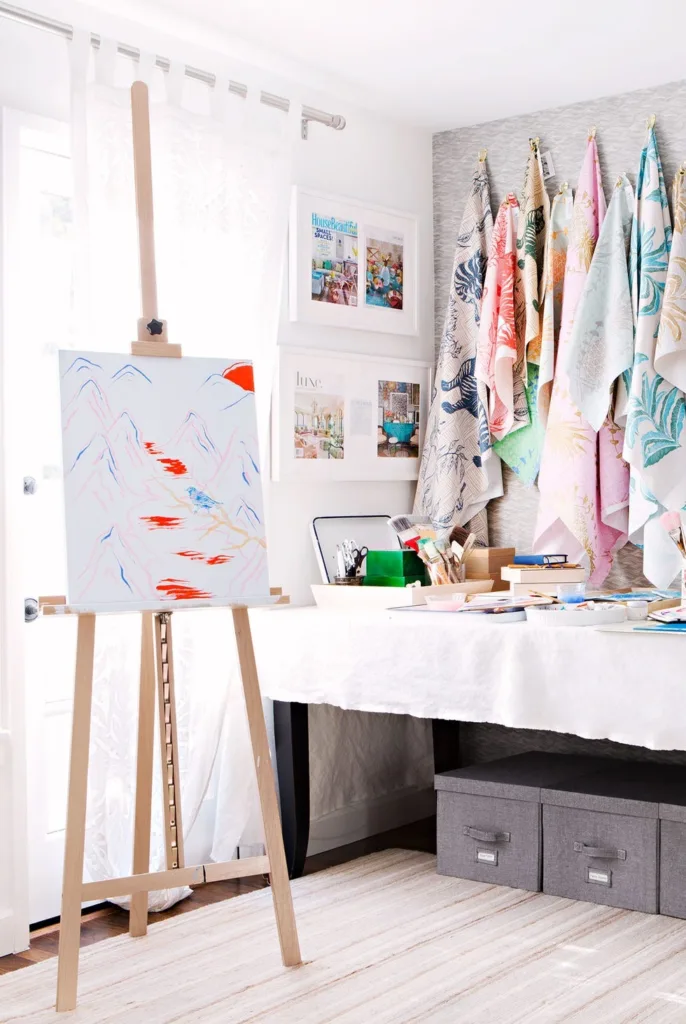 Source: Karyn Millet
When it comes to keeping your craft room flexible, temporary storage is a lifesaver. I’ve found that using an easel for both display and storage works wonders.
It’s easy to move, and you can even hang smaller projects or work in progress. I love how it lets me keep my materials visible without feeling cramped.
It’s a fantastic way to store things while you work, and when you’re done, just clear it out and rearrange.
12. Set Up a Dedicated Crafting Table
 Source: Sustain My Craft Habit
A crafting table is the heart of your workspace, so it’s essential to have a dedicated spot. I remember how much it improved my workflow when I set up a table with everything I needed right at hand.
Whether it’s a large flat surface or a compact table, make sure it’s spacious enough for your projects.
For me, having a table with drawers for easy access to tools and supplies is a game-changer.
13. Maximize Space with a Sliding Work Table
 Source: Victoria Pearson
If you’re working with limited space, a sliding table might be exactly what you need.
I recently added one to my craft room, and let me tell you, it’s been a total game-changer.
When I’m not using it, I simply slide it out of the way. It really helps open up my space. A sliding table lets you adjust your workspace to suit the project size—big or small—without compromising on storage.
14. Create an Organized, Clutter-Free Space
 Source: David Giles
A tidy craft room makes all the difference in how you feel when you’re working. I can’t tell you how much easier it is to focus when I have everything in its place.
For me, open shelving and stylish baskets are essential. It allows me to keep things visible yet organized, so I can grab whatever I need without wasting time digging through piles of stuff.
A clutter-free room boosts productivity and creativity!
15. Keep Your Supplies Within Easy Reach
 Source: Courtesy Of Lindsey Campbell
One of my best organizational moves was setting up shelves and drawers that make everything easy to access.
I keep my brushes, paints, and scissors within arm’s reach so I don’t waste time searching. It’s all about making your space work for you.
If I need something, I know exactly where it is, and that little convenience makes a huge difference in how smoothly my projects go.
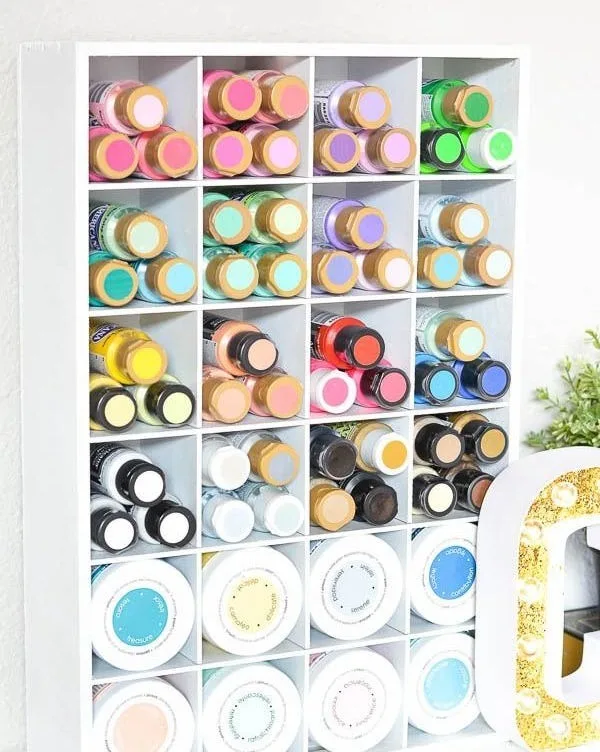
16. Optimize Storage with Cubbies
 Source: A Pumpkin and a Princess
Cubbies have been a total lifesaver in my craft room.
They’re perfect for separating different materials, like yarn, paint, or paper. I’ve used cubbies to store everything from smaller items to bigger supplies, and they really help me stay organized.
They even give the room a neat, tidy feel. I love how you can label each cubby to keep everything categorized and easy to grab when you need it.
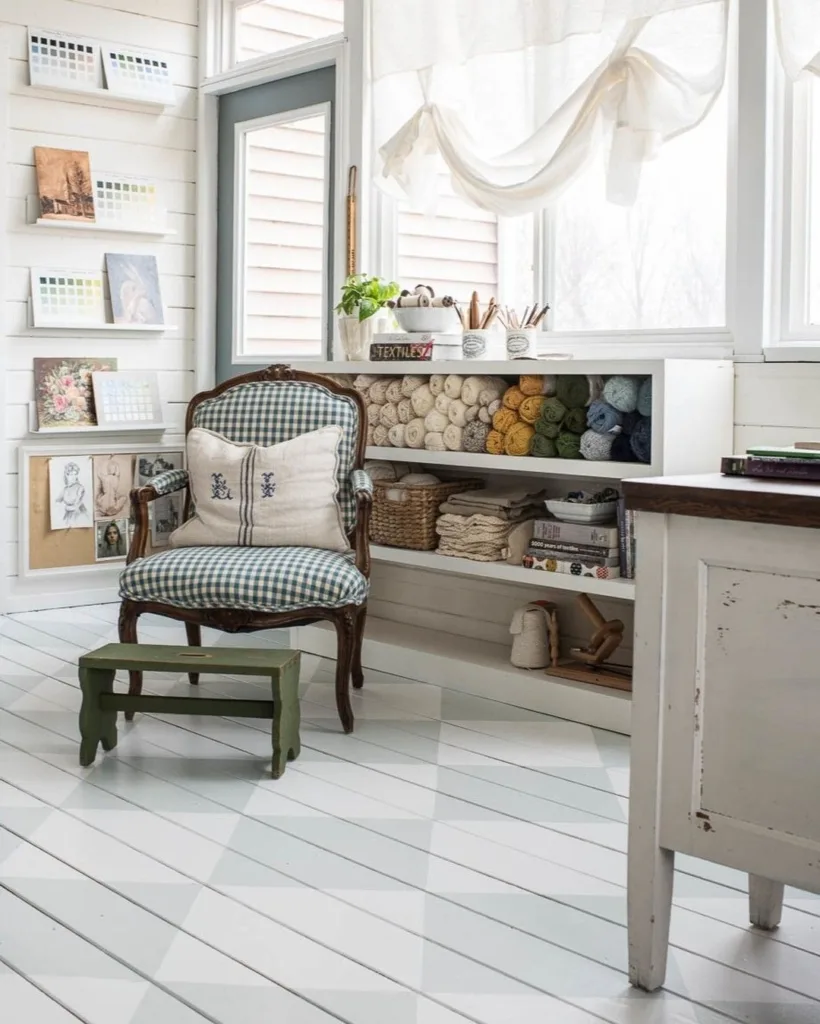
17. Stylish Shelving for Yarn & Crochet Supplies
 Source: @missmustardseed / Instagram
If you love crocheting or knitting like I do, a dedicated yarn shelf is essential.
Not only does it keep your yarn from tangling, but it also adds a touch of beauty to the room. I’ve set up a colorful yarn shelf that helps me stay organized and inspired.
With this kind of setup, it’s easy to find the color or type of yarn you need, and it looks so nice that it doubles as decor!
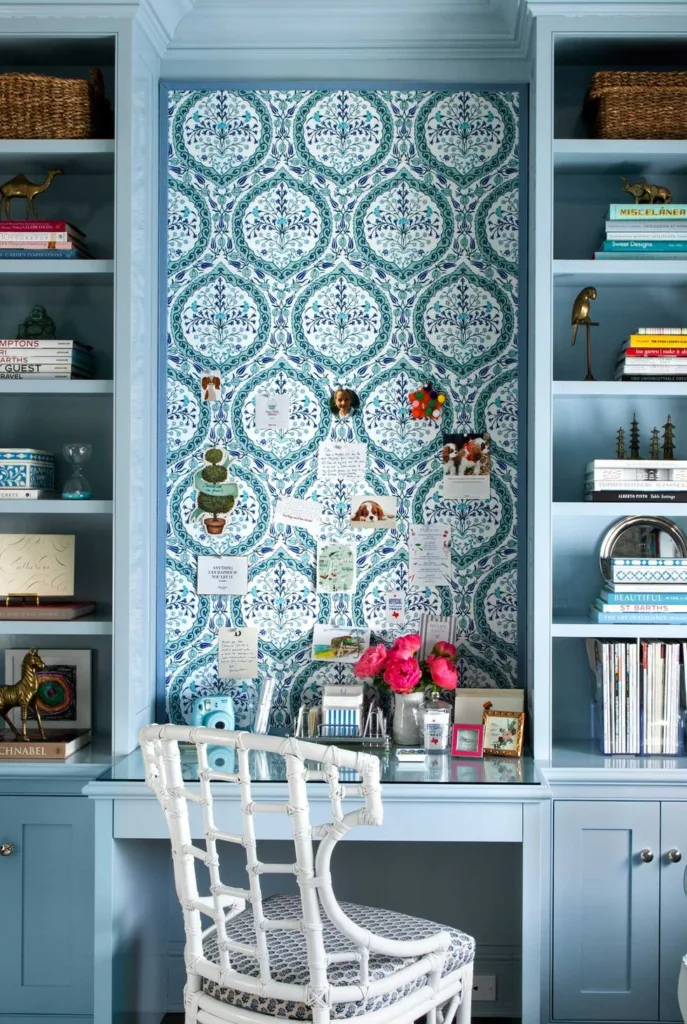
18. Invest in Built-In Storage for a Seamless Look
 Source: Beatriz da Costa
I love how built-in storage makes my craft room look clean and organized without feeling overcrowded. When I added cabinets and drawers, it felt like a seamless part of the room.
Built-ins really optimize space, giving you a lot of hidden storage for supplies while still keeping the room looking elegant.
If you’re considering storage, this solution provides plenty of functionality with a sleek design.
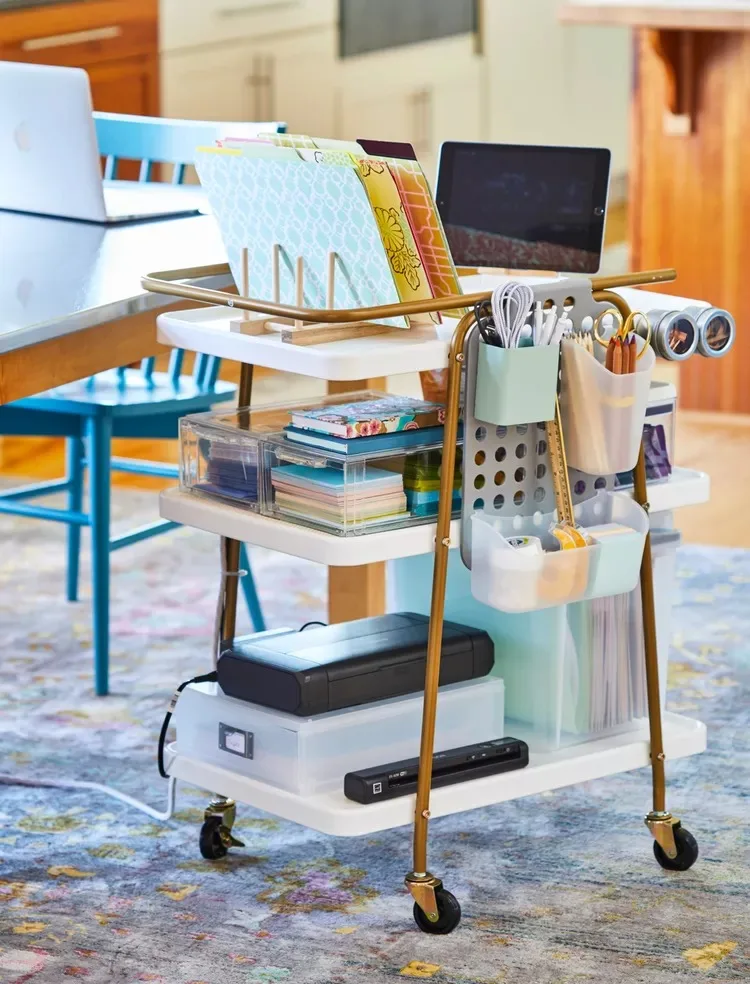
19. Roll Your Supplies with a Mobile Cart
 Source: Jason Donnelly
A mobile cart is one of the smartest additions I’ve made to my craft room.
I love how I can roll it from my desk to my work table and back again. Everything stays neatly organized on the cart, but I can easily move it out of the way when I’m done.
This is especially helpful when I’m working on multiple projects at once. It’s like a mini workspace that can go wherever I need it—super convenient!
20. Harness Vertical Space with Wall Brackets
 Source: designeatrepeat.com
Wall brackets are a clever way to make use of vertical space, especially if you’re short on floor area.
I started using them to hold baskets and supplies, and it’s been such a practical solution.
Wall brackets help keep things off your desk while still being accessible.
They make the room feel more open and organized. Plus, they add a cool, modern vibe to the space.
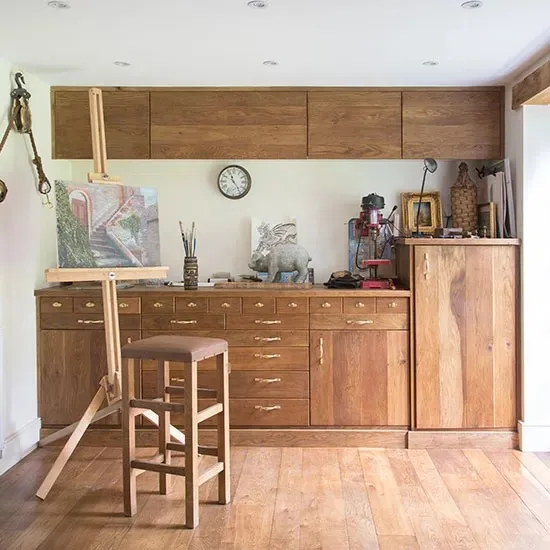
21. Incorporating a Vintage Work Table
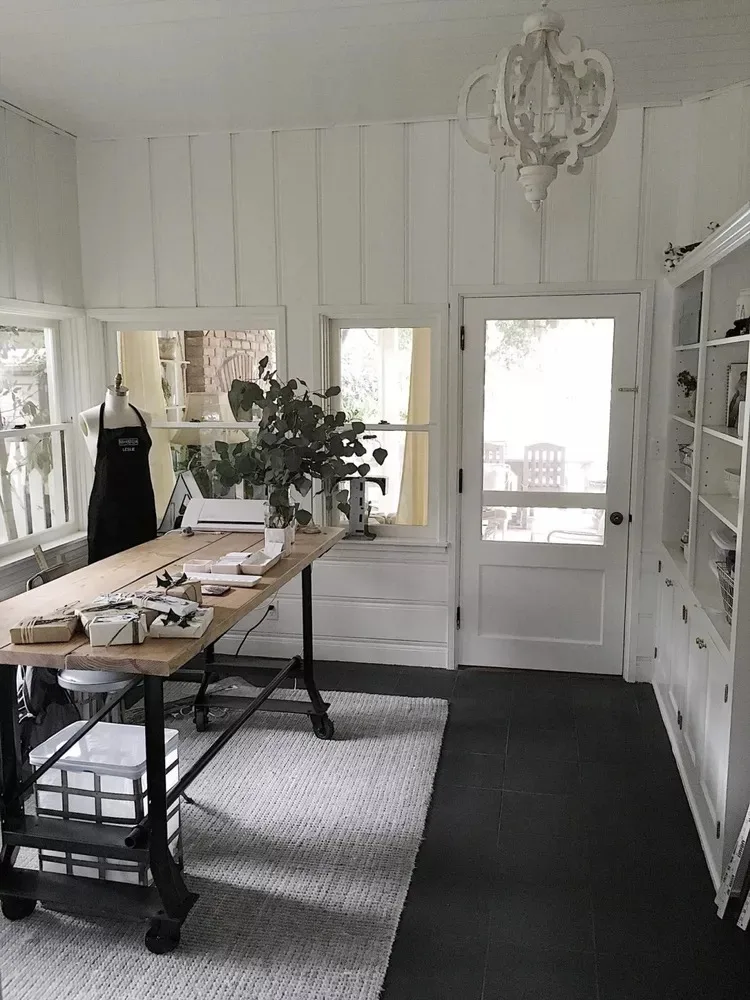 Source: My 100 Year Old Home
I can’t get enough of vintage work tables! They’re a great way to add character and practicality to your craft room.
In my experience, having a solid, timeless piece like this can make your space feel more inviting. The black metal and warm wood combo in the image looks fantastic and perfect for storing supplies underneath.
If you love mixing style with function, this one’s a winner!
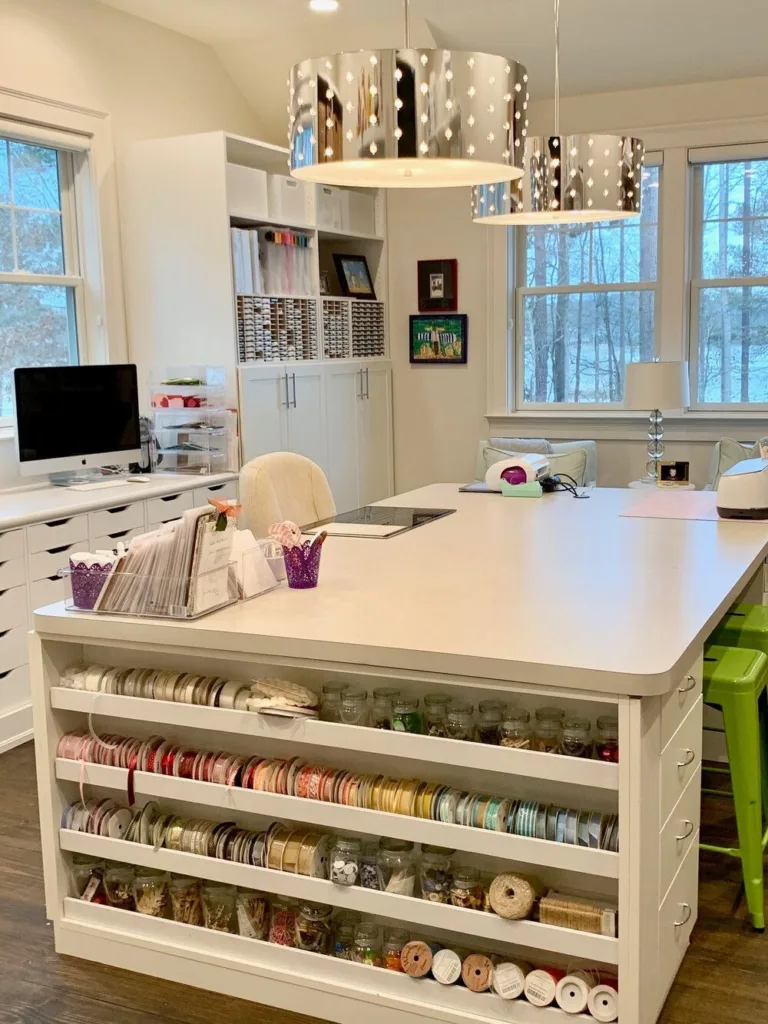
22. Central Island for Maximum Space
 Source: Erin Williamson Design
I highly recommend using a central island in your craft room if you want to feel more organized and spread out.
Imagine having plenty of space to lay out your projects and supplies, all while keeping everything neatly tucked away in surrounding storage.
I love how the island in the image balances form and function—it’s truly the best way to maximize your crafting space!
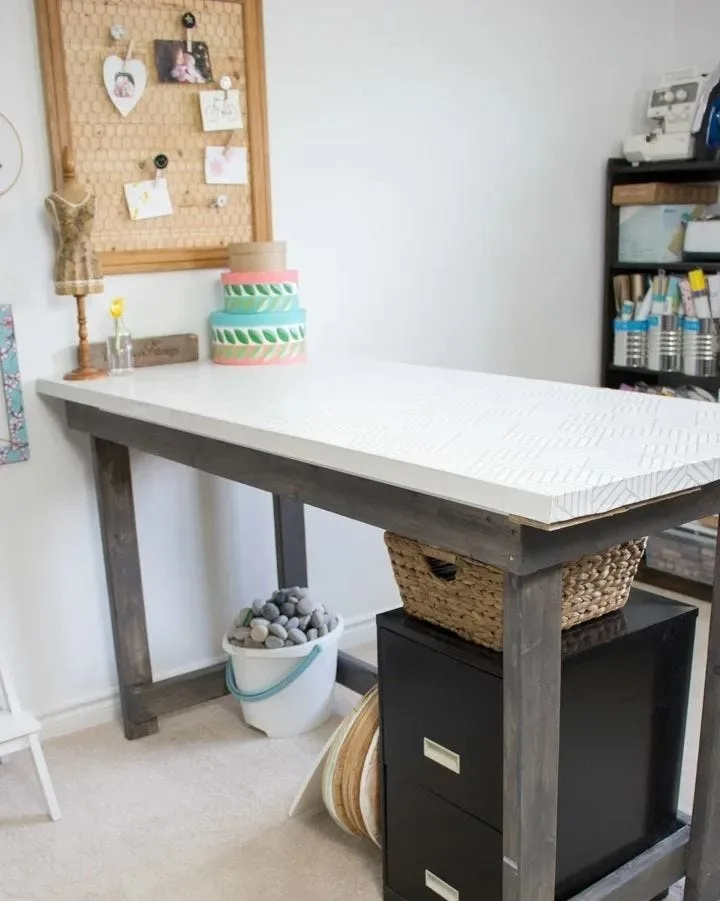
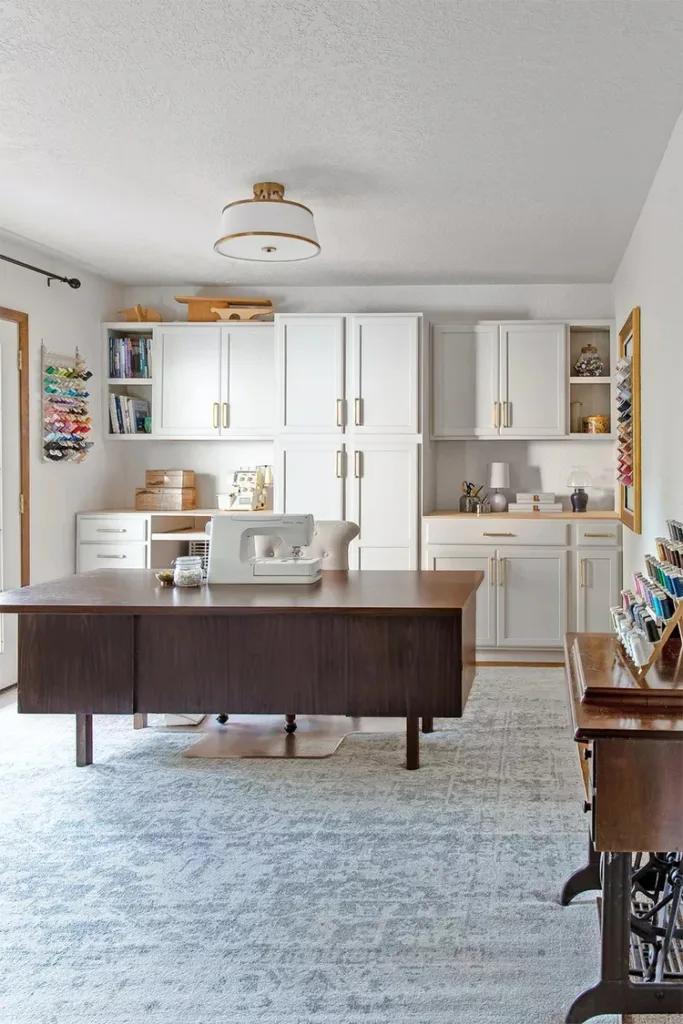
23. Large Craft Table with Built-In Storage
 Source: positivelyjane.net
If you’re like me, you need all the storage you can get, especially for craft supplies!
A large table with built-in storage is an absolute game changer. This one in the image has plenty of room for tools and materials underneath.
A perfect mix of workspace and storage—you’ll love how tidy it keeps everything!
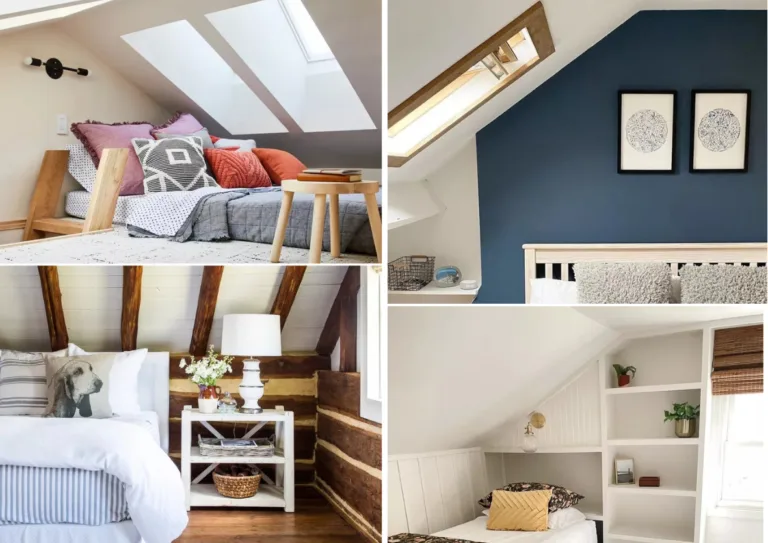
24. Utilize a Corner for Crafting
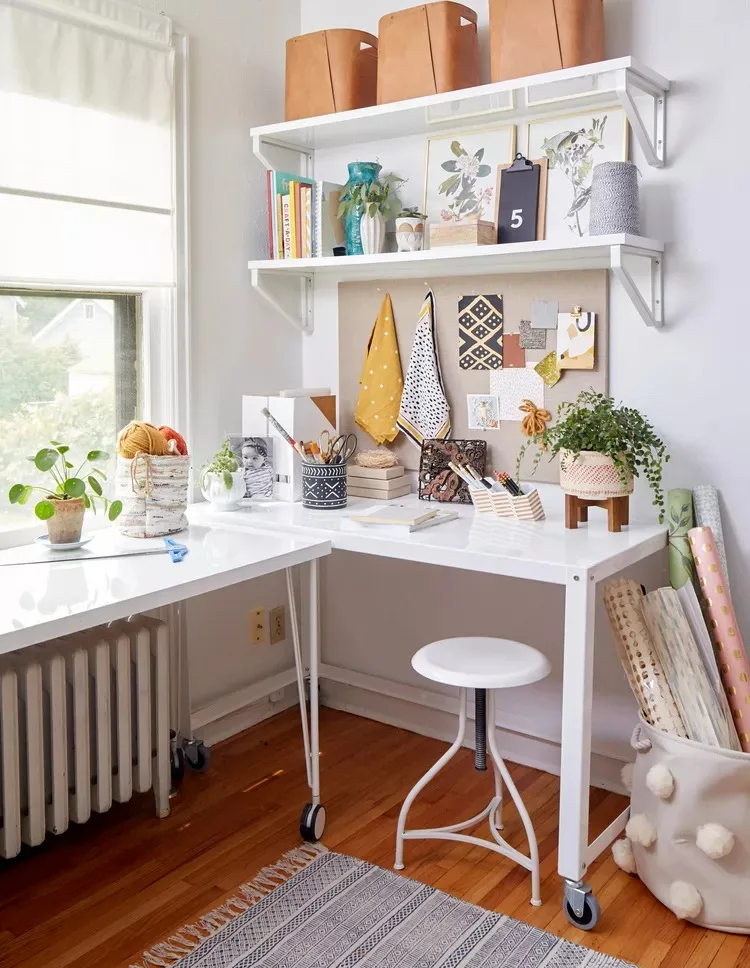 Source: Adam Albright
Sometimes, a cozy corner is all you need to get creative!
When my craft room was on the smaller side, I turned a corner into a mini workspace, and it worked wonders. With shelves above and a compact desk below, you can keep everything organized and within reach.
It’s a great way to make the most of your space—especially if you love working in a quieter, more focused nook.
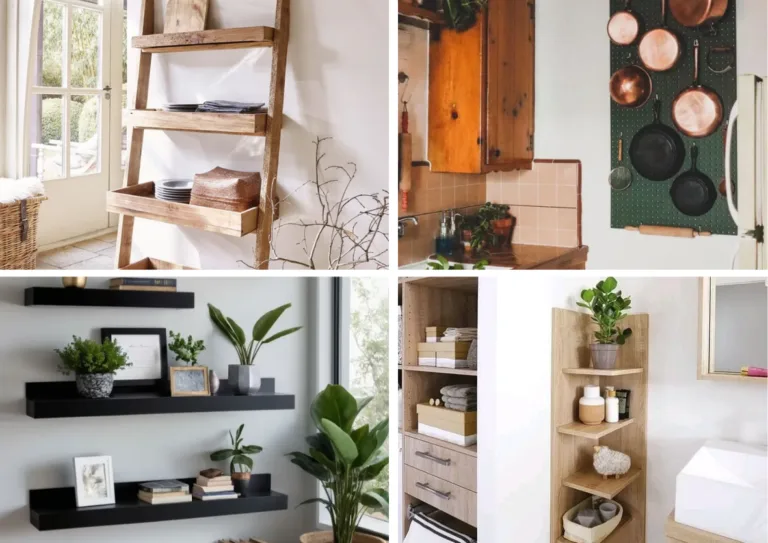
25. Make the Most of Vertical Space
 Source: Ursula Carmona of Home Made By Carmona
If you’re tight on floor space, look up! I can’t tell you how much easier it was to keep things organized by using vertical storage.
The shelves in the image are perfect for holding everything from yarn to fabric, and they free up much-needed table space.
Trust me, with a bit of shelving, you’ll be amazed at how much more room you’ll have to spread out your projects.
26. Custom Wall Organizer for Craft Supplies
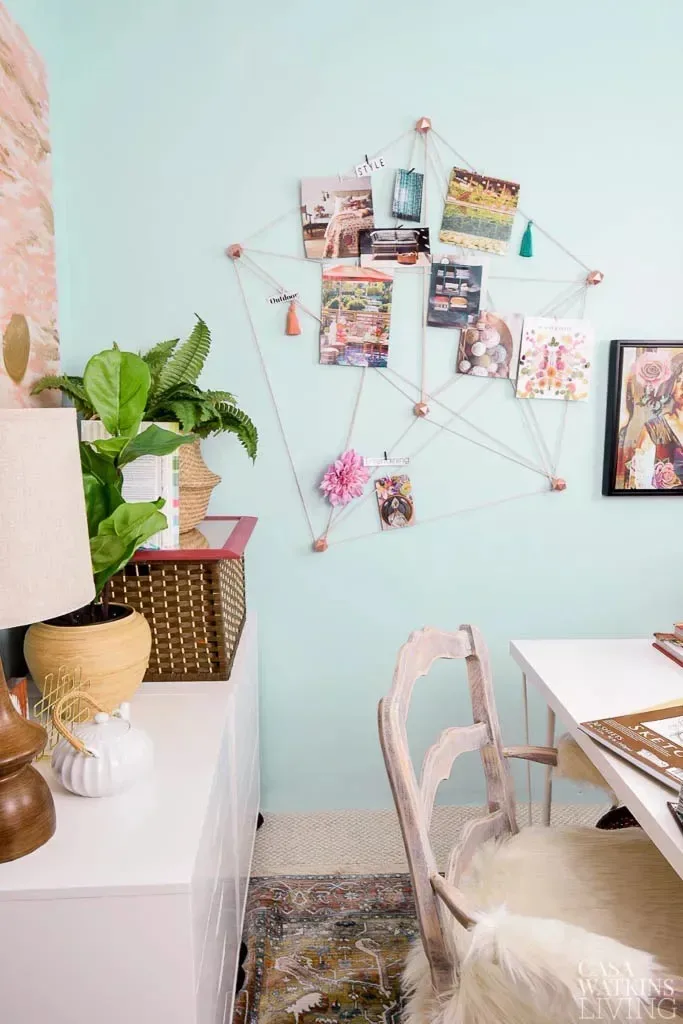 Source: Casa Watkins Living
DIY wall organizers are a must in any craft room! I’ve used wall-mounted racks and hooks to keep all my supplies within easy reach, and it makes a world of difference.
The image shows how you can store scissors, thread, and fabric neatly off the desk. It’s a clever and easy way to save space, all while keeping your tools organized and accessible.
If you’re tight on space, this one’s for you!
27. Crochet Storage Unit for All Your Yarn
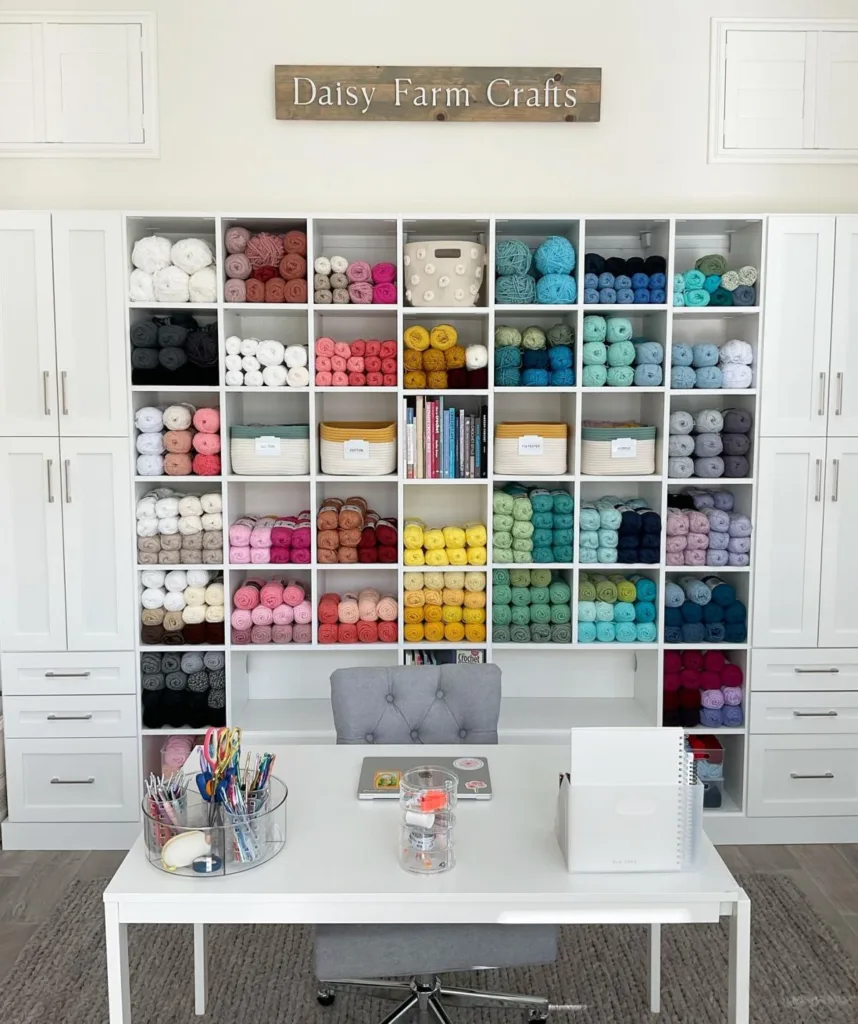 Source: @daisyfarmcrafts / Instagram
If you’re a crochet enthusiast like me, you know how much yarn can pile up!
I love this storage unit because it helps keep everything neat and organized by color.
In the image, you can see how the open shelving makes everything visible, so you never have to dig around for that perfect yarn.
It’s both functional and stylish—perfect for showcasing your yarn collection while keeping it organized!