Let’s be real for a second—cleaning a stovetop is not the first thing you daydream about when thinking of a productive day. But hey, it doesn’t have to be some dreadful, scrubbing nightmare either.
If you’ve ever stared at your grease-coated battlefield of a stove and thought, “Where do I even start?”, don’t worry—I’ve been there too.
Spoiler alert: it’s easier than you think, and I’ve got all the tips, tricks, and hacks to make it almost enjoyable.
So, strap on your cleaning gloves (or don’t—I won’t judge), and let’s tackle this mess together.
By the time you’re done reading this guide, you’ll not only have a spotless stove but a few “aha!” moments you might actually want to share at your next dinner party. (Just me? Okay.)
Why Cleaning Your Stove Top Actually Matters (“Wait, Do I Need To?”)
Okay, let’s address the elephant in the room. Do you really need to clean your stove regularly? The short answer: yes. The long answer? Let me hit you with some logic:
- Safety first! Grease and food particles can build up, creating a fire hazard. Yeah, that spaghetti sauce splatter from last week isn’t just annoying—it could literally go up in flames.
- Longevity for your appliance. Cleaning your stove properly means it’ll last longer and perform better. Think of it like giving your stove an occasional spa day.
- Nobody likes the smell of burning crud. You know that nasty smell that hits when you turn on the burner? That’s yesterday’s dinner haunting you. Clean it, and future-you will thank you.
Tools You’ll Need (Because Scrubbing With a Toothbrush Isn’t Fun)
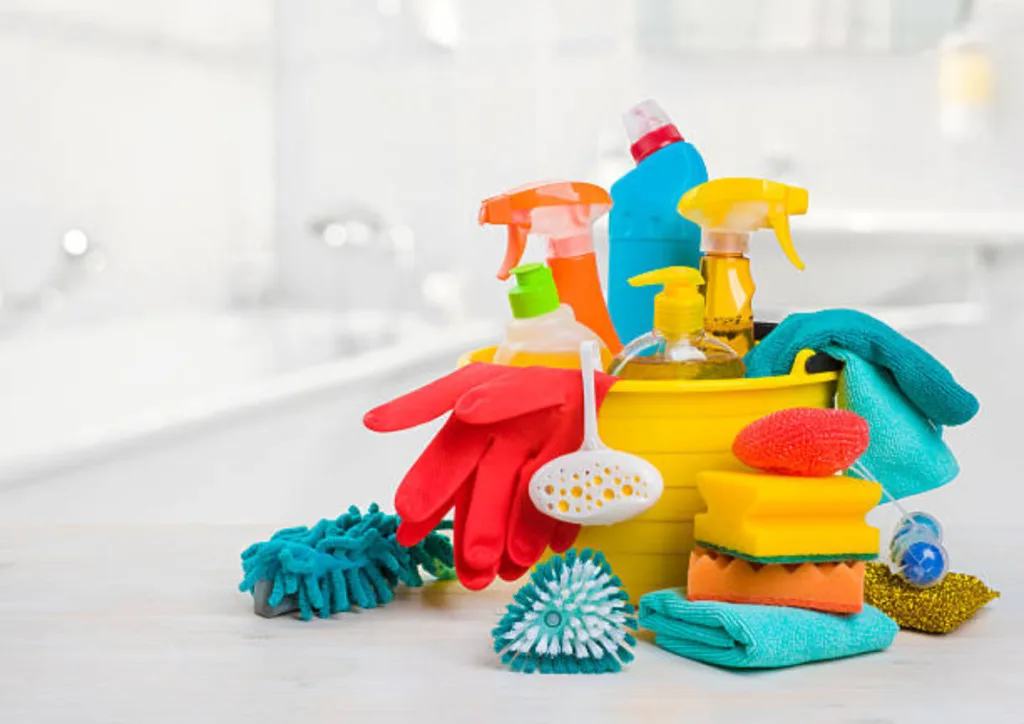
Before you dive in, gather your arsenal. Here’s a quick checklist of what you’ll need:
- Dish soap: A gentle yet mighty grease fighter.
- Baking soda: The MVP of DIY cleaning products.
- White vinegar: Because it’s basically magic in a bottle.
- A non-abrasive sponge or microfiber cloth: No, your crusty old steel wool will not do.
- Toothbrush: For all those annoying nooks and crannies. (Fine, the toothbrush gets a pass here.)
- Paper towels or a clean rag: For that satisfying final wipe-down.
- Optional: Rubber gloves, because no one really likes soggy hands.
Step 1: Know Your Stove Type (Because Not All Stoves Are Created Equal)
Before you dive into scrubbing like a maniac, take a second to figure out what kind of stove top you’re dealing with.
Cleaning methods vary depending on the material, and you don’t want to accidentally ruin your appliance just because you got a little too enthusiastic.
1. Glass or Ceramic Stove Tops
These beauties look sleek and modern, but they are not forgiving. Every fingerprint, grease spot, and bit of burnt pasta water is there to taunt you. They require gentle cleaning methods to avoid scratches.
2. Gas Stove Tops
Gas stoves are the “ride-or-die” of kitchen appliances—durable and reliable but prone to grease buildup and hard-to-reach areas. Those burner grates can get gross fast, so make friends with your dish soap.
3. Electric Coil Stove Tops
Electric coil stoves are tough (seriously, what even is this technology?), but cleaning them often involves pulling apart coils and drip pans, which can be tricky if you’re in a rush (or lazy, no judgment).
Step 2: The Prep Work (AKA, Don’t Skip This Part)
Ever tried scrubbing a hot stove? Yeah, don’t do that. Here’s how to prep like a pro:
- Turn everything off. No one wants to accidentally ignite a burner while cleaning, trust me.
- Let it cool COMPLETELY. Do not—I repeat, do not—start cleaning while your stove is still warm. Unless you enjoy burning your fingers, I guess.
- Remove removable parts. Grates, burners, knobs—anything you can take off, take it off. (Bonus: This makes you feel kinda like a stove surgeon, which is weirdly fun.)
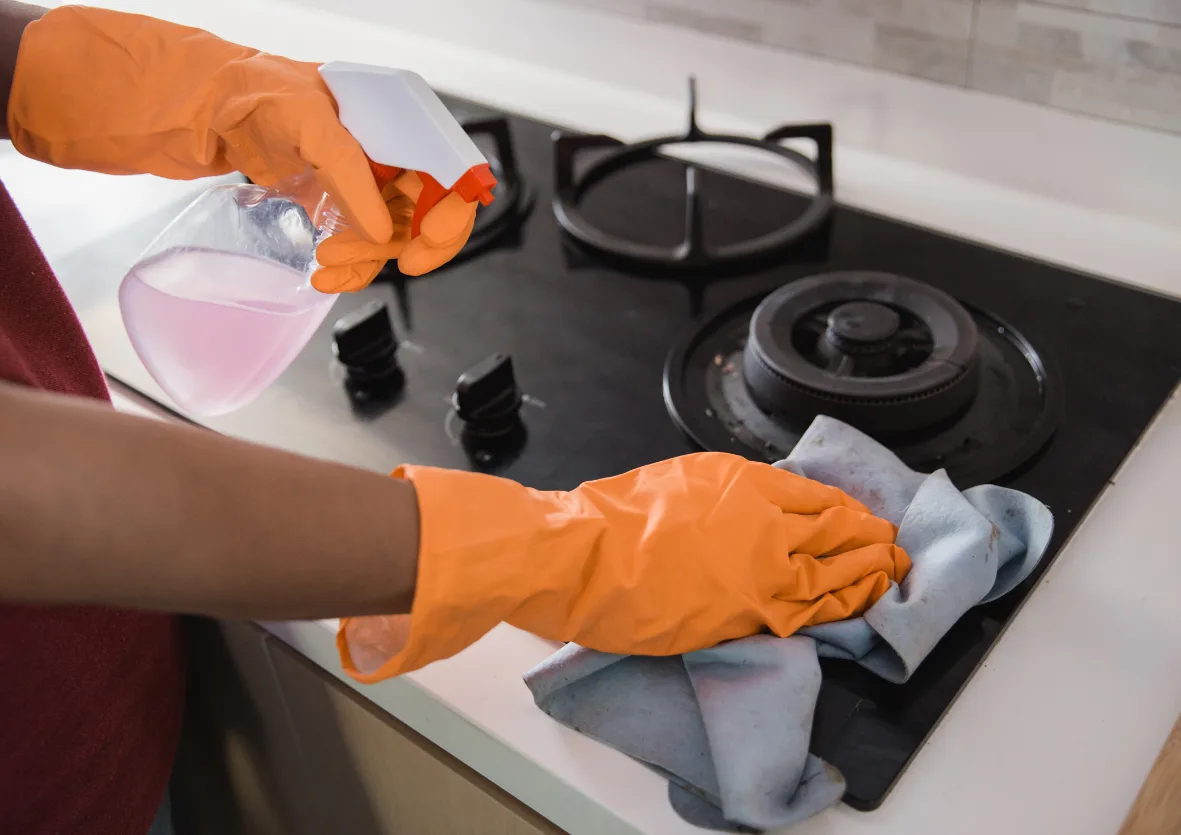
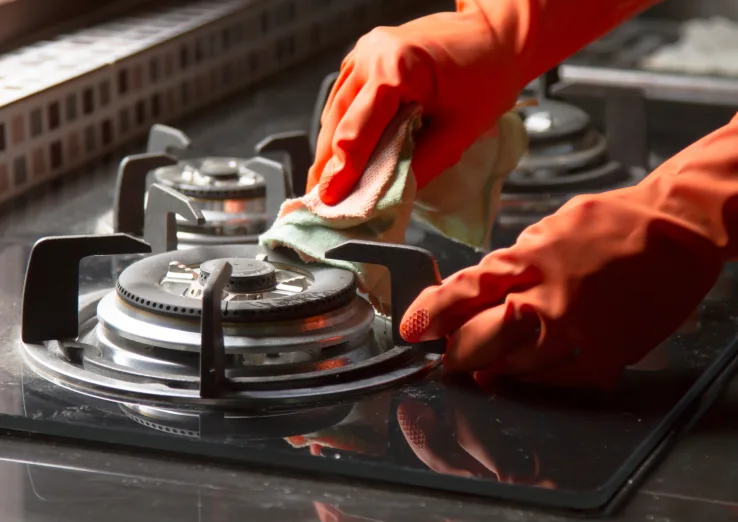
Step 3: Attack the Grime (The “Fun” Part)
Now that your stove is cool and disassembled, it’s time to get to work. Let’s break it down by stove type:
Gas Stove Tops
- Soak the grates and burners: Fill your sink with hot, soapy water and toss them in. Let them soak while you work on the stovetop.
- Wipe down the surface: Dampen a sponge with warm water and dish soap. Scrub off loose crumbs and grease.
- For stubborn stains: Sprinkle baking soda directly onto the stain, then spritz with vinegar. Watch it fizz (because science is cool), then scrub gently.
- Dry everything: Use a clean towel to dry the surface and components before reassembling.
Electric Coil Stove Tops
- Remove the coils: They should pop out easily. Set them aside—these don’t need cleaning unless food exploded onto them.
- Clean the drip pans: Spray them with a mix of vinegar and dish soap, let them sit for 10 minutes, then scrub.
- Wipe down the surface: Use your trusty sponge to clean the stovetop. For burnt-on spots, bust out the baking soda and vinegar trick.
- Reassemble everything: Once it’s all dry, pop those coils back in.
Glass or Induction Stove Tops
- Ditch the harsh stuff: Glass is delicate, so use a non-abrasive cleaner (or a mix of vinegar and water).
- Soften burnt residue: Sprinkle baking soda onto stubborn spots, dampen a cloth with vinegar, and let it sit for 5–10 minutes. Gently wipe away the grime.
- Shine it up: Finish with a microfiber cloth to buff the surface and make it sparkle.
Step 4: Don’t Forget the Knobs
Yup, those grimy little knobs collect way more gunk than you think.
Remove them (if possible) and soak them in warm, soapy water. Give them a quick scrub with a toothbrush, rinse, and dry before putting them back.
Step 5: The Finishing Touches
Now that your stove looks almost brand new, it’s time to do those final polish-and-shine tasks:
- Buff the surface: Use a dry microfiber cloth for a streak-free finish.
- Sniff check: Does it smell fresh and clean? If not, go in with a little extra vinegar.
- Admire your work: Seriously, step back and bask in the glory of your sparkling stove. You did amazing!
Pro Tips for Lazy Days
Sometimes, cleaning just feels hard. (Spoiler: It always does.) Here are a few shortcuts for when motivation is as low as last night’s leftovers:
- Lazy But Effective: Use a dampened paper towel and warm soapy water for a quick wipe-down in between deep cleans. It’s fast, and it helps contain chaos.
- Easy Overnight Cleaning: For burnt-on spills, let a wet cloth soaked in baking soda/water sit on the grime overnight. Let it do the heavy lifting while you snooze.
- Preventive Maintenance: Cover surrounding surfaces with foil or stove liners when cooking messy meals. Think of it as your stove’s protective armor.
Pro Tips for Keeping Your Stove Top Clean (Because Who Has Time to Deep-Clean Every Week?)
- Wipe it down after every use. Yes, I know this sounds annoying, but trust me—it’ll save you hours of scrubbing later.
- Use splatter guards when frying. They’re cheap, effective, and you’ll thank yourself later.
- Line drip pans (electric stoves) or around burners with aluminum foil. Easy to remove, easy to replace. Boom—cleaning hack unlocked.
- Keep a small spray bottle of vinegar and water under the sink for quick spot cleans.
Conclusion
And there you have it, folks! Cleaning your stovetop doesn’t have to feel like scaling Mount Impossible.
With the right tools, a little elbow grease, and the occasional science experiment (hello, baking soda and vinegar), you can keep that stove looking fresh and functional.
So, next time you’re wielding your spatula like a pro chef, you won’t have to grimace at the layer of grease lurking beneath it. You’ve got this—and your stove is basically begging to stay clean now.
Now go show that stovetop some love—and maybe reward yourself with a snack afterward. Just saying. 😉

Leave a Reply