How to Propagate Ficus Elastica from Leaf
PROPAGATING Ficus elastica is a rewarding way to expand your indoor plant collection. While typically propagated through stem cuttings, it is possible to grow new plants from leaf cuttings if they include a portion of the stem with a node.
This method requires patience and attention to detail but you can accomplish it with the right techniques and conditions. In this guide, I walk you through the step-by-step process of ficus elastica propagation from leaf, ensuring successful growth and a thriving new addition to your home garden.
Related: How to Propagate Song of India Plant
If you don’t have the time to read through the whole article, here are 12 quick steps of ficus elastica propagation from leaf:
- Select a Healthy Plant: Choose a healthy Ficus Elastica plant with robust, mature leaves.
- Prepare Your Tools: Use a clean, sharp knife or scissors to take cuttings. Disinfect your tools with rubbing alcohol to prevent infections.
- Take the Cutting: Cut a leaf with a small section of the stem attached. Ensure the cut is clean and straight.
- Prepare the Cutting: Allow the cutting to sit for a few hours until the cut end dries and calluses over. This helps prevent rot when planted.
- Optional Rooting Hormone: Dip the cut end of the leaf-cutting in rooting hormone to encourage root development. This step is optional but can increase success rates.
- Plant the Cutting: Fill a small pot with a well-draining potting mix, such as a blend of peat and perlite. Make a hole in the soil with a pencil or stick and insert the cutting, ensuring the stem part is buried and the leaf is above the soil
- Water Lightly: Water the soil lightly to keep it moist but not waterlogged.
- Cover with Plastic Bag or Dome: Cover the pot with a plastic bag or dome to create a humid environment, which helps the cutting to root.
- Place in Indirect Light: Place the pot in a location with bright, indirect light. Avoid direct sunlight, which can scorch the cutting.
- Maintain Humidity: Keep the soil consistently moist and maintain high humidity around the cutting.
- Monitor for Root Growth: Check the cutting periodically for signs of new root growth. This can take several weeks.
- Transplant Once Rooted: Once roots have developed, transplant the cutting into a larger pot with standard potting soil and care for it as a mature plant.
Step-by-Step Process of Ficus Elastica Propagation from Leaf
And now, with a little more time on your shoulders, let’s go through a step-by-step on how to propagate ficus elastica successfully:
The Materials You:
- Healthy Ficus elastica plant
- Sharp, sterilized knife or pruning shears
- Rooting hormone (optional but recommended)
- Small pot with drainage holes
- Potting mix (well-draining)
- A plastic bag or a clear plastic container
- Spray bottle with water
- Gloves (optional, as the sap can be irritating)
Follow this simple guide to propagate your Ficus elastica:
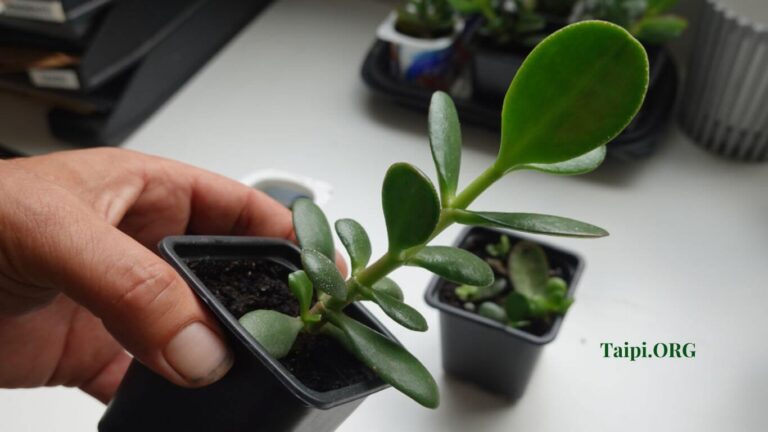
1. Choose a Healthy Leaf and Node
Select a healthy leaf with a portion of the stem attached. Ideally, the stem should have a node (a small bump where leaves emerge) since roots typically develop from nodes.
2. Prepare Your Tools
Sterilize your knife or pruning shears to prevent the spread of disease. You can do this by wiping the blades with rubbing alcohol.
3. Make a Cut
Cut the leaf with a portion of the stem and a node. Ensure the cut is clean and straight.
4. Apply Rooting Hormone (Optional)
Dip the cut end of the stem into rooting hormone powder. This can help stimulate root growth.
5. Prepare the Potting Mix
Fill a small pot with a well-draining potting mix. A mix designed for succulents or cacti, or adding perlite to regular potting soil, works well to improve drainage.
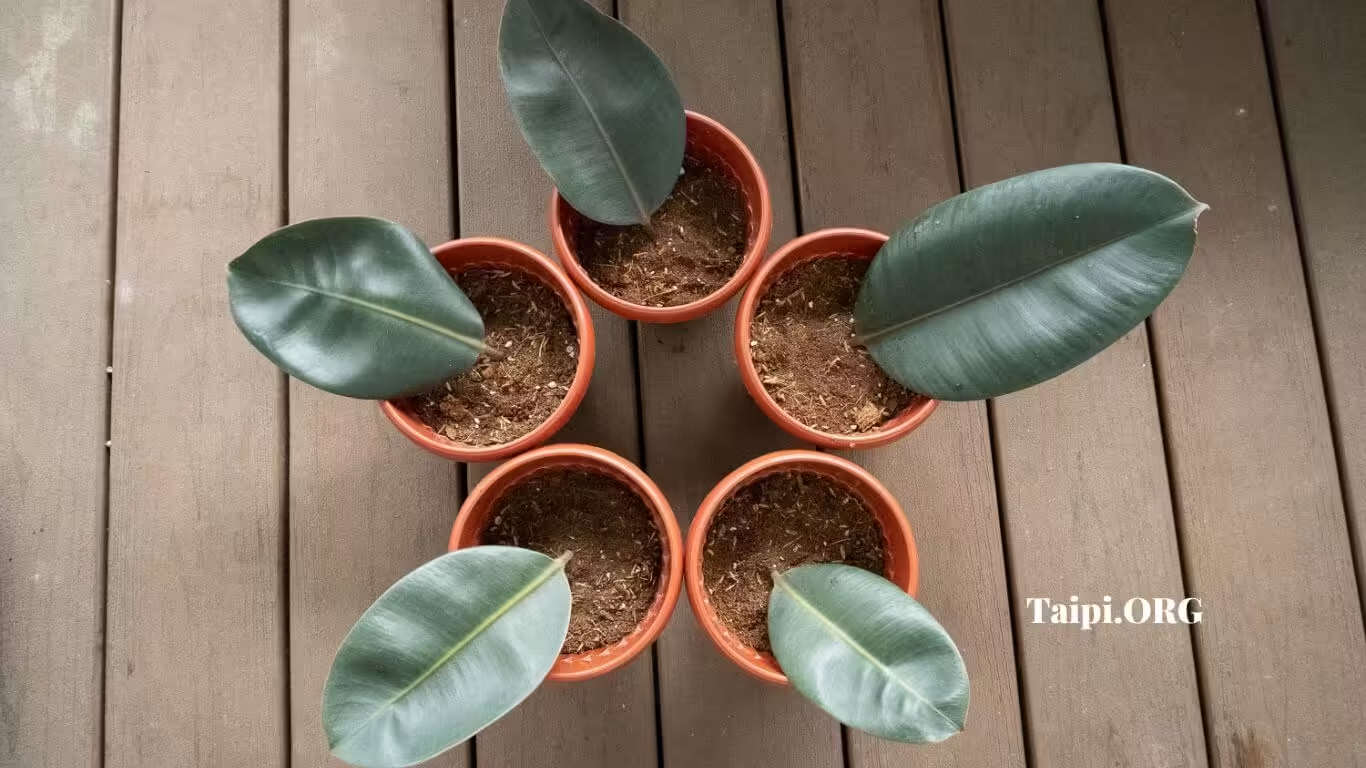
6. Plant the Cutting
Insert the cut end of the leaf (with the node) into the potting mix. The node should be buried in the soil, while the leaf itself stays above the soil.
7. Water the Cutting
Lightly water the potting mix until it’s evenly moist but not waterlogged. The soil should feel damp to the touch.
8. Create a Humid Environment
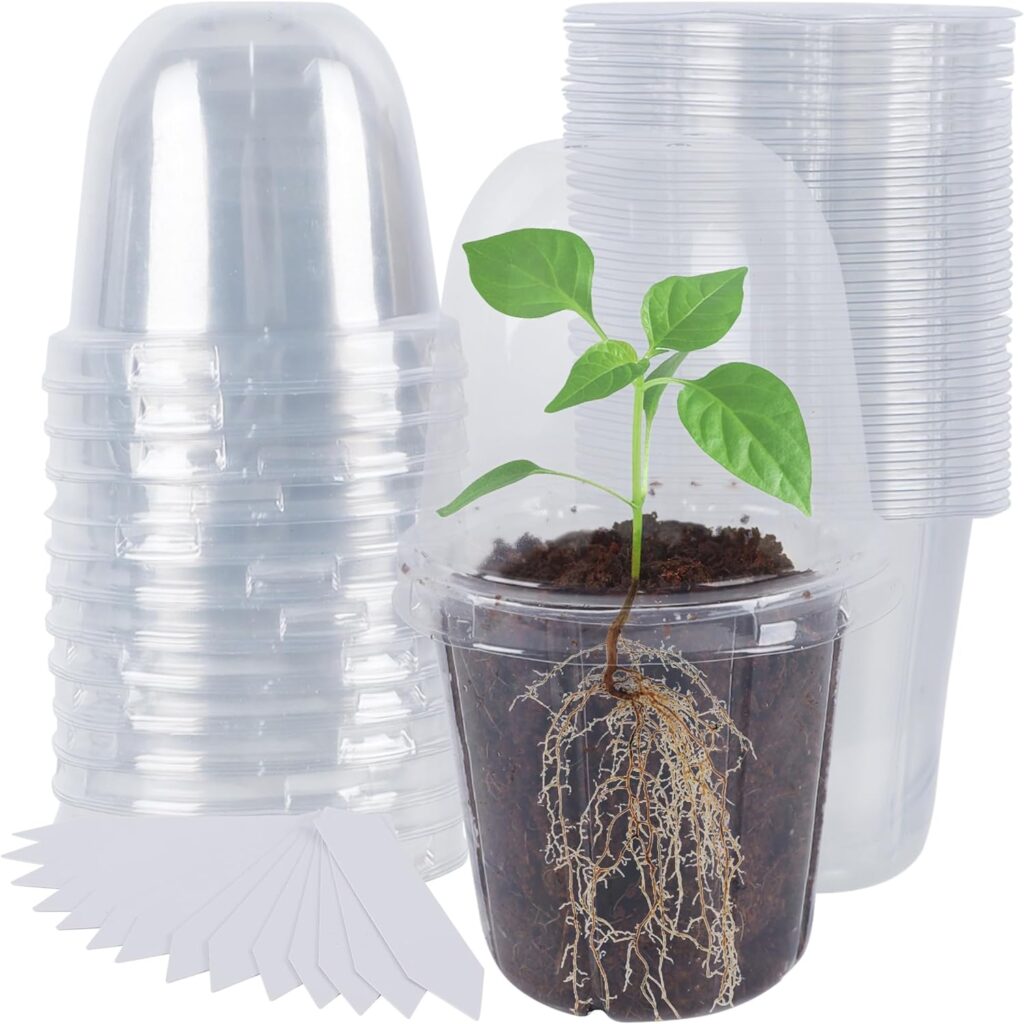
Cover the pot with a plastic bag or a clear plastic container to create a mini-greenhouse effect. This will help maintain high humidity, which is crucial for rooting.
9. Place in Indirect Light
Place the covered pot in a warm area with bright, indirect light. Avoid direct sunlight, because it can be too intense and dry out the cutting.
10. Monitor and Maintain
Check the soil regularly to ensure it remains moist. If it starts to dry out, mist it lightly with a spray bottle. Also, open the plastic bag or container occasionally to allow for air exchange and prevent mold growth.
11. Wait for Roots to Develop
Root development can take several weeks to a few months. You’ll know roots are forming when you see new growth on the cutting or when you gently tug on it and feel resistance.
12. Transplant (if needed)
Once the cutting has developed a strong root system and new growth, you can transplant it into a larger pot with a regular potting mix. Continue to care for it as you would a mature rubber plant.
Tips for Success
- Patience is key, as rooting can take time.
- Maintain consistent humidity and moisture without overwatering.
- Ensure good air circulation to prevent mold and mildew.
- If the leaf starts to wilt or rot, remove it and start again with a fresh cutting.
Frequently Asked Questions (FAQs)
Q: Can you propagate Ficus elastica from a single leaf?
A: Propagating Ficus elastica from a single leaf is challenging and often unsuccessful if the leaf does not include a portion of the stem with a node. The node is essential because it’s where new roots and shoots develop. Therefore, a leaf with a small stem section and a node is needed for successful propagation.
Q: How long does it take for a rubber plant cutting to root?
A: The rooting process can take anywhere from a few weeks to a few months, depending on factors such as temperature, humidity, and light conditions. Generally, you can expect to see signs of rooting within 4-8 weeks.
Q: What is the best time of year to propagate rubber plants?
A: The best time to propagate rubber plants is during the growing season, typically in spring or early summer. During this period, the plant is actively growing, which increases the chances of successful rooting.
Q: Do I need to use rooting hormone for propagation?
A: Using rooting hormone is not strictly necessary, but it can significantly improve the chances of successful rooting. Rooting hormone helps stimulate root growth and can speed up the rooting process.
Q: How often should I water the rubber plant cutting?
A: Water the cutting lightly to keep the soil evenly moist but not waterlogged. Overwatering can cause the cutting to rot. It’s crucial to check the soil moisture regularly and mist it lightly if it starts to dry out.
Q: Why should I cover the cutting with a plastic bag or container?
A: Covering the cutting with a plastic bag or clear container helps create a humid environment, which is essential for rooting. High humidity prevents the cutting from drying out and helps stimulate root development.
Q: What kind of soil is best for rooting rubber plant cuttings?
A: A well-draining potting mix is essential for rooting rubber plant cuttings. A mix designed for succulents or cacti, or regular potting soil with added perlite, works well to ensure good drainage and prevent waterlogging.
Q: Can I place the cutting in direct sunlight?
A: No, direct sunlight can be too harsh for the cutting and can cause it to dry out or get damaged. It’s best to place the cutting in bright, indirect light to provide sufficient light for photosynthesis without the risk of dehydration.
Q: How do I know if the cutting has rooted successfully?
A: You can check for successful rooting by looking for new growth on the cutting. Additionally, if you gently tug on the cutting and feel resistance, it indicates that roots have developed and are anchoring the cutting in the soil.
Q: What should I do if the cutting starts to rot or wilt?
A: If the cutting shows signs of rot or wilting, remove it from the soil immediately. Cut away any rotting parts and replant the healthy portion in a fresh, well-draining potting mix. Ensure that the soil is not too wet and that the cutting is in a humid environment.
Q: Can I propagate rubber plants in water instead of soil?
A: Yes, you can propagate rubber plants in water. Place the cutting with the node submerged in water and keep it in a warm, bright location. Change the water regularly to prevent stagnation and encourage rooting. Once roots develop, you can transplant the cutting into the soil.
Conclusion
Propagating Ficus elastica from leaf cuttings is a rewarding and fulfilling experience for plant enthusiasts. By carefully selecting healthy leaves with nodes, maintaining optimal moisture and humidity levels, and providing bright, indirect light, you can successfully grow new rubber plants.
With patience and proper care, you’ll soon enjoy the satisfaction of seeing your cuttings develop into robust and vibrant plants, adding a touch of greenery to your indoor space. Happy propagating!