How to Propagate ZZ Plant from Leaf
IN THE realm of botanical endeavors, there exists a captivating journey you can embark upon—the propagation of the ZZ plant from a single leaf. Like a sorcerer wielding nature’s magic, this process unveils the secrets of botanical reproduction, transforming a humble leaf into a thriving testament of greenery. Join me as I delve into the intricacies of this fascinating art, unveiling the steps and techniques on how to grow ZZ plant from leaf, unlocking the door to a world where new life sprouts from a single leaf.
Related: How to Propagate ZZ Plant in Water
The Tools You Need
To successfully propagate ZZ plants from leaf cuttings, you’ll need a few essential tools namely:
- Sharp, sterilized scissors or pruning shears
- Small pots or containers
- Well-draining potting mix
- Rooting hormone (optional)
- Spray bottle filled with water
- Transparent plastic bag or propagation dome
Step-by-Step Guide on How to Propagate ZZ Plant from Leaf

Follow these 10 easy steps to propagate ZZ plant from leaf:
Step 1. Select a Healthy Leaf
Choose a mature, healthy leaf from your ZZ plant. Look for a leaf that is free from damage or disease, with vibrant green coloration.
Step 2. Prepare the Leaf Cutting
Use sharp, sterilized scissors or pruning shears to cut the leaf from the plant. Make a clean-cut close to the base of the leaf, ensuring that you include a portion of the stem (petiole) with the leaf.
Step 3. Allow the Cutting to Callus
Place the leaf cutting in a warm, dry location away from direct sunlight. Allow the cut end of the leaf to dry and callus over for 1-2 days. This step helps prevent rotting when the cutting is planted.
Step 4. Prepare the Potting Mix
Fill small pots or containers with a well-draining potting mix. A mix of perlite, peat moss, and coarse sand works well for ZZ plant propagation.
Step 5. Plant the Leaf Cutting
Once the leaf cutting has callused, gently insert the cut end into the potting mix, burying the base of the leaf stem. Firm the soil around the cutting to provide stability.
Step 6. Provide Adequate Moisture
Mist the soil lightly with water to moisten it without causing waterlogging. Keep the soil consistently moist but not soggy throughout the propagation process.
Step 7. Encourage Root Growth
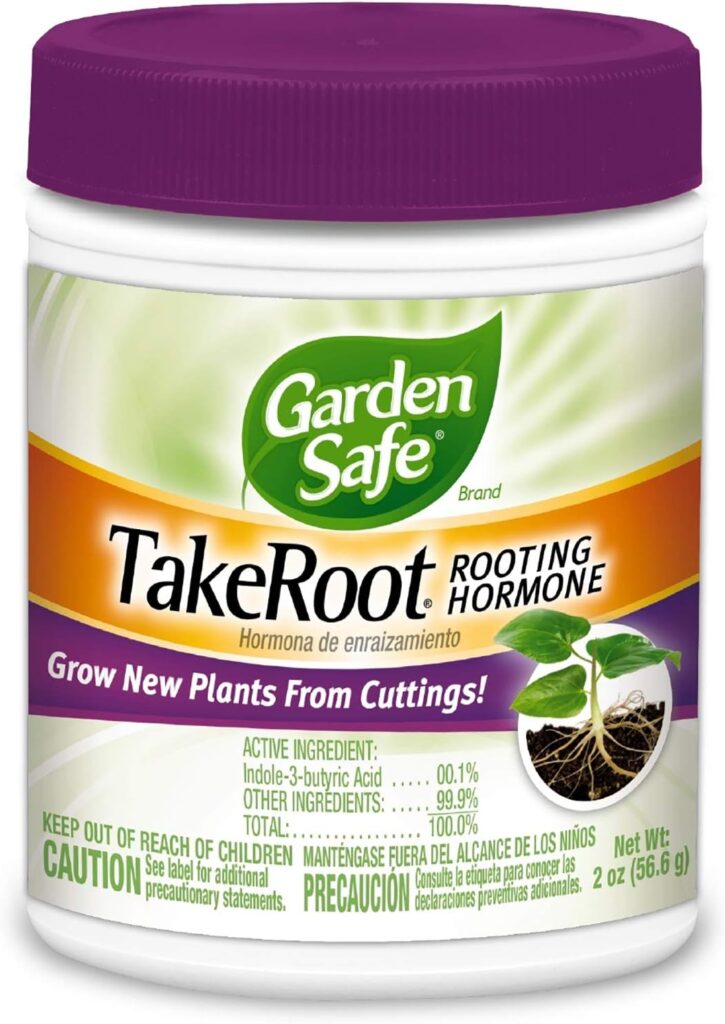
Place the potted leaf cutting in a warm, bright location with indirect sunlight. You can also use a rooting hormone to encourage root development (although this step is optional).
You can go for Garden Safe Take Root Rooting Hormone (pictured ⬆) if you decide to use a rooting hormone for rooting.
Step 8. Maintain Humidity
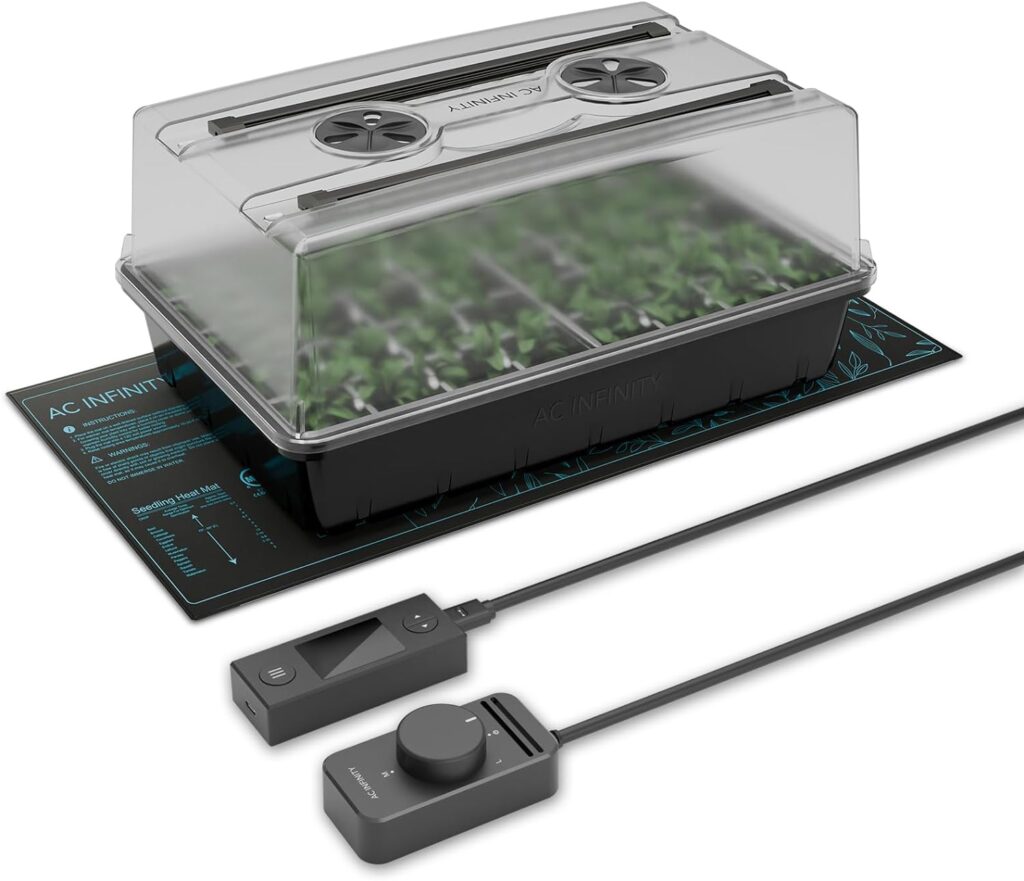
Cover the potted cutting with a transparent plastic bag or humidity propagation dome (pictured ⬇), to create a humid environment ideal for root development. This helps retain moisture and promote faster rooting.
Step 9. Monitor and Wait
Check the soil moisture regularly and mist as needed to keep it consistently moist. Be patient, as it may take several weeks for roots to develop.
Step 10. Transplant your Young ZZ Plant
Once the cutting has developed a healthy root system, typically after 6-8 weeks, it’s ready to be transplanted into a larger pot with regular potting soil.
How to Propagate ZZ from Leaf FAQs
Q: How long does it take for a ZZ plant leaf cutting to root?
A: Root development typically takes around 6-8 weeks, but this can vary depending on environmental factors such as temperature and humidity.
Q: Can I propagate ZZ plant from a single leaf?
A: You can propagate ZZ plants from single leaf cuttings, as long as you include a portion of the stem (petiole) with the leaf.
Q: Do I need to use rooting hormone for ZZ plant propagation?
A: While the rooting hormone can help expedite root development, it’s not strictly necessary for propagating ZZ plants from leaf cuttings.
Q: How often should I water ZZ plant leaf cuttings during propagation?
A: Keep the soil consistently moist but not waterlogged. Check the soil moisture regularly and mist as needed to maintain optimal growing conditions.
ZZ Propagation from Leaf in Summary
To propagate a ZZ plant from a leaf, start by selecting a healthy leaf from the mother plant and cleanly cut it into sections, ensuring each section has a portion of the leaf blade and a piece of the petiole (leaf stem).
Next, allow the cuttings to callus over for a few days to prevent rotting. Then, plant the cuttings in a well-draining potting mix, ensuring the leaf sections are partially buried and supported upright.
Water the cuttings lightly and place them in a warm, bright location with indirect sunlight. Keep the soil consistently moist but not waterlogged, and mist the cuttings occasionally to maintain humidity.
After a few weeks, roots should begin to develop, and new growth will emerge from the leaf sections.
Once the new plants have established roots and several leaves, they can be transplanted into individual pots.

